Showing posts with label Etsy. Show all posts

Sunday, 2 February 2014

Etsy Store -New Product Update

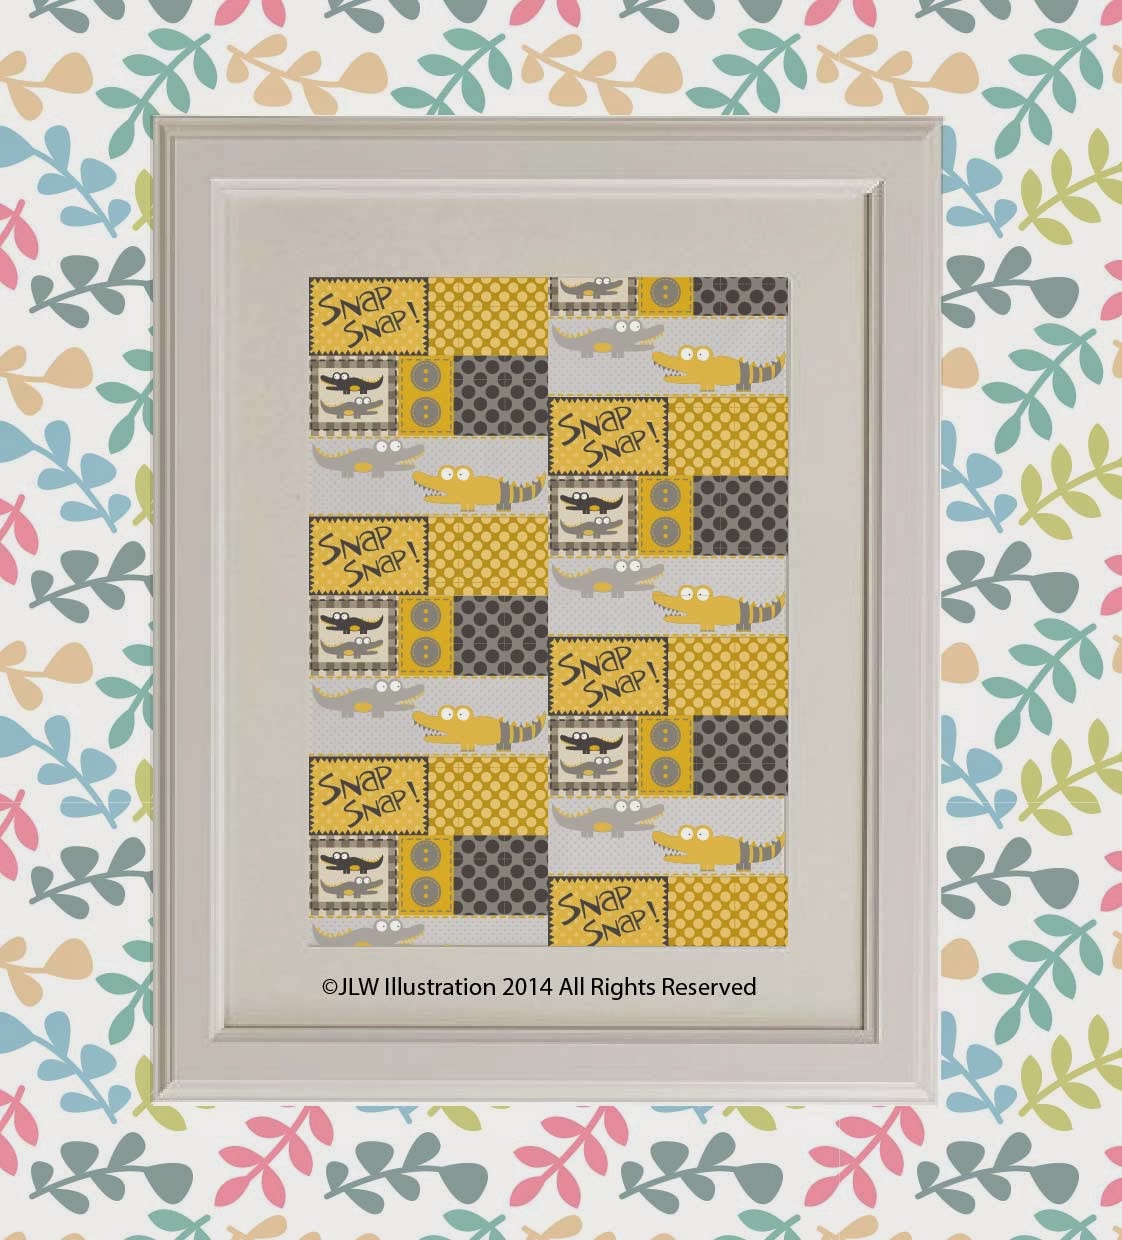
Hello again, I wanted to share with you some new prints that I have added to my Etsy store. I appear to be dabbling more in Illustration as well as Surface Pattern, and I'm really loving it. 
These will also be available as Downloads as well as physical products, which I think gives flexibility to the buyer. Not everyone has an amazing A3 printer to be able to print from home, so I think its important to offer a physical product in a world where everything appears to be downloaded and saved to desktops. 

Anyway, here are the new prints. Some are available in various colourways. 


A Selection of Colourways are available for this print


These next prints can be personalised and are perfect for Children's bedrooms


Simply click on any of the images to take you to the store, and don't forget to send some Etsy Love my way if you like what you see. 

Alternatively browse my entire store HERE

I have lots of new idea's brewing in this little head of mine, so keep your eyes peeled for more information.

Until Next time. 


Thursday, 23 January 2014

New Year, New Products

Hello everyone. 

I'm starting 2014 with a bang, I have some new products to share with you. 

My newest range of Pocket mirrors are now available to purchase from my Etsy Store, and come in 5 different designs. You may recognise 2 of them from last years Valentines Bloghop, when I released the designs for the first time as a range of greeting cards. You can also purchase the cards from my Etsy store. 


 These are the valentines cards available to purchase too. Click on the designs to head on over to my etsy store and purchase yourself a lovely card for your loved ones. 


I also have the cute little owl available as A4 and A3 prints, which are available for personalisation too. I did my eldest daughter (OWL MAD) one for her bedroom, and it looks fabulous! 


Please do keep an eye out for more products coming out soon, including mugs and other fabric related items.

Oh, and before I forget, please do check out this weeks MOYO/MIID designer of the week. You might just recognise the designer.......

Until Next Time. 


Friday, 5 April 2013

How to make a mini Notebook

Hello one and all...

Welcome back to my blog. 

Today I am going to share a little tutorial on how to make some mini A6 Notebooks (15 pages 30 sides) using just a variety of basic office equipment in approximately 8-10 minutes (per notebook). 

Disclaimer: This is how I create my notebooks, that I sell via etsy. This is not the only way, nor necessarily the easiest/best way, but it is how I have learned and the results are top knotch. I recommend you practice this technique and then adjust to suit your requirements/needs. 

Happy Making!!!! 

 Open up your design (if using a digital design), ensuring the template is A4 in size, adjust the scale of the design, baring in mind this will become an A6 notebook and large scale prints may not work as well as if it were smaller in scale. 

Send to printer, I use the specifications below:
 (sheetfeeder, borderless, Epson Photo Quality) and placed my logo across the back of the design ensuring it doesn't affect the pattern.
 (this is optional, but recommended if you intend to sell them)


EQUIPMENT

7 sheets A4 white paper
(I use basic printing paper)
1 A4 sheet with chosen design 
(I use Linen cardstock at 300gsm)
Paper trimmer
Metal ruler
Sharp Scalpel/blade 
Long arm Stapler
Staples


Using the paper trimmer, cut the A4 white paper in half, width way, repeat with patterned paper. 


Fold the patterned paper in half, to create a guideline for the staples, I use the black slider to make sure the staples are inserted evenly at either side of the line. Two staples should be all that is needed. 


Turn the notebook over and using the metal ruler against the staples on the left hand side, pull the paper from the right hand side and create a crease rubbing your thumb across the outer side. 
Turn the paper around 180 degrees and repeat. This will create a fold that allows the paper to turn easily. 


As you can see the notebook now folds over and has a nice curve to the seam where the staples sit evenly. 


Here you have 2 options.
 (I prefer the scalpel, but find the paper trimmer works well). 

As you have folded the paper over, you will find that there are overlapping sheets, and odd sheets of paper longer than others. Using either method, trim the paper down so the paper and the front cover are the same size. You should only need to remove minimal slices (see trimmer photo). 

Please note: if you use a hand scalpel or as I have a blade, please ensure the blade is super sharp, as a blunt blade will just drag the paper and ruin the whole notebook. A sharp blade should only need one or two strokes to trim the paper. 


Here you can see the finished product, complete with a band of card (semigloss epson paper) with my business logo on and a small product description. 


P.S I noticed the pattern across the top was a little uneven after I took this picture. This is common, simply trim it to even size. Please note all sizes are approximate as this is handmade. 


Back of notebook, simply use a small piece of tape, or double sided to fix the band together. 


I always seal my notebooks in a C6 (A6) clear sealable bag available from any craft store/online store/eBay. This not only keeps it clean while being stored but looks professional when posting out to customers. 


Here we have both notebooks complete, using 1 sheet of A4 Cardstock, 7 sheets of A4 paper, a few office essentials and a little patience. 


 Including time, it costs approx 60p to make 2, probably less with practice. 


Don't be disheartened if it doesn't work first time, I must have made 5-10 of them before I created one I felt was suitable to sell. 

Remember, if you find an easier solution to any section, give it a try, maybe there are other ways to make a mini notebook, and I'm 100% sure that there are, but this is my way, and it may just be your way too. 

Note: Easily applicable to creating and A5 notebook also. 


Thanks for reading... 

Friday, 1 February 2013

VALENTINES GIVEAWAY!!!!!!

Congratulations to 
Veronica Galbraith and Amanda Bosco 

ITS FEBRUARY! 

That means one thing.... 'tiz the season to be in LOVE! 

Did you download yesterday's FREEBIE??

No? Why Not...

 go Check it out now. 

Otherwise, you might be here for the giveaway?

Awesome. 

So its simple. I released a new design collection on the amazing bloghop earlier in the month. Then I went and had them sent off to be printed so I could sell some bad boys. 

now, I made them as a Valentines collection, it is february after all, However, I intentionally didn't include any words that specified such an event, thus allowing them to be used for a vast variety of occasions. 

Mother's day, Anniversary's, weddings, engagements and female birthday....

Just to name a few. 

SOOOO...

Here they are: 


They are selling well, and im happy I had plenty printed, so I have the opportunity to share some birdie Love with some of you lovely lot. 

If you want to buy them directly, you can do so by visiting my Etsy store.

Otherwise, Enter here, and best of luck. 


a Rafflecopter giveaway

Thursday, 10 January 2013

BLOG HOP- Welcome

Well, Hello there....


You are probably joining me from the fabulous blog of Mary Tanana, also known as Groovity Designs. I love Mary's designs, they are so bright, bold and vivid. What a fabulous collection she created. 

Before I talk a little bit about myself, I'd just like to thank Rosie of Believe Creative Studio for curating this fantastic event, and also to MajoBV for designing the fabulous Flyer. 

Okay, time for me to shine. 


My collection was inspired by the theme of 'flight', and influenced by Pantone's 2013 colour 'emerald'. I also needed to create a collection of Valentines designs to be sent to the printers in time for the big day (14th February in the UK). 

Lets kill 2 birds with one stone, I thought. 
(Pun Intended)

©JLW Illustration 2013

The Brief said 3 designs to create a mini collection. But I'll be honest, I struggled to reign myself in and stop. So here we have 4, one with several colour variations. 

Naughty me. 


©JLW Illustration 2013

©JLW Illustration 2013

©JLW Illustration 2013

©JLW Illustration 2013


So, What will I be doing with these designs? Seems a shame to just leave them sat in a file on my computer, don't you agree?

The colours are very on trend, and the theme is currently relevant, given its valentines day soon. 

But I also think they could be used for many 'female' occasions...

Mothers Day, Anniversaries, Birthdays, Well Wishes etc.

So this is what I came up with:

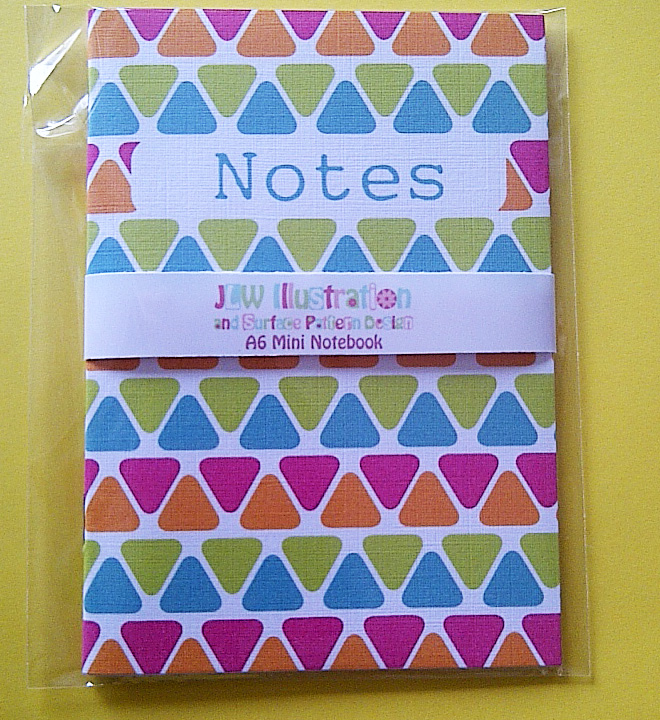
Blank Notebooks

 Click image to take you to my Etsy store, which now sells these items


 Cards and GiftTags:

  Click image to take you to my Etsy store, which now sells these items


 These are now available to buy in my Etsy store, and I shall be expanding the range to Keyrings, cushions, coasters, fridge magnets in the very near future. 

Anyway, I've shared enough eye candy with you for now. Time to pass you forward to the brilliant Cara Holland of Pattern Booth

Enjoy the rest of the Bloghop, and please please do follow right through until the end, it's really worth the time and effort. There's too much talent amongst this bunch to miss even one blog.


NOTE: This blog runs until Sunday Midnight. 


Sunday, 9 December 2012

Sunday Blog - ETSY FINDS : Christmas card Special

Welcome back and thanks to all that had a peek at our Advent Doodle attempts so far....

THIS IS MY 100th BLOG POST!!!!!
happy dance

Anyway....
Today's Etsy Finds is a little special, as it is CHRISTMAS related. 
I love Christmas, its so fun, and merry and bright. 

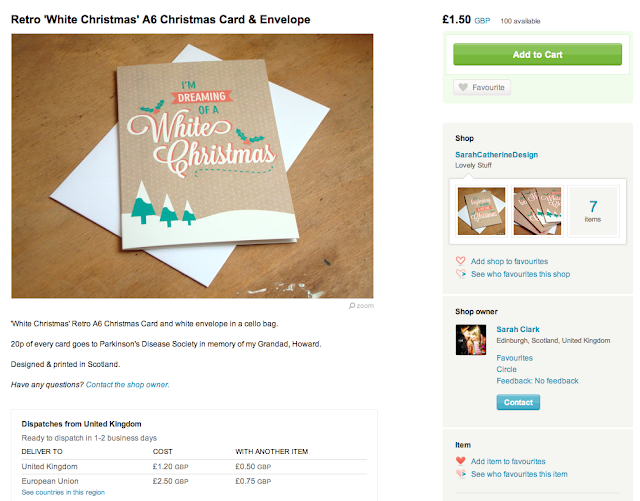
A few weeks ago I put a shout out on Twitter for any creatives who wanted to take part in a Christmas Card swap. I had lots of interest and swapped some of my cards with 3 lovely ladies from various parts of the country. 

Here are their Etsy stores so you can see what beauties I have in my possession:

Worthy Designs 

Sarah Catherine Designs 

Sarah Fleming

Contact sarah via her FB page to purchase any cards, or have a peek at her work:


Now I just need to decide which lucky recipients will receive such LUSH cards. 


Lets KEEP GOING.......

Not one to be biased on just sharing Etsy Finds, here are some Fabulous Folky Finds from:

Kate Marsden


These are just Super cute, Super Simple and Super Festive. 


Thats all for now Folks. 

Until NEXT TIME. 

Sunday, 11 November 2012

SUNDAY BLOG POST - Etsy Finds

Its Sunday....

It can only mean one thing.....

ETSY FINDS

but first...

I have added a new line of notebooks to my shop, find them here: 


(Click the images to take you to the product shown)

Take a peek at these fabulous Etsy Finds: 


I Love a good nordic pattern, and Lauren has a set of Christmas cards that are just adorable! 


and these 'Loppy' Tree's are just too cute. 


AKA: a Stitch of Handmade


I came across these by complete accident while browsing Etsy. I'm sure glad I did. Aren't these fabulous? 


I Found these cute cards via Twitter, and love the simplicity of the designs, they're so festive, and  I love the Typography used. 


All images, designs and products etc belong to the designers named, unless otherwise specified. 

UNTIL NEXT TIME