Showing posts with label spoonflower. Show all posts

Monday, 29 April 2013

NEW WORK

Hi All, I've been quietly busy, working away on some new designs. Mainly for my agent, which is all top-secret, but there is a few things I'd like to share with you that I have created over the last 3 weeks or so:

Kleenex Competition

Voting starts MAY 1st, and any votes would be greatly appreciated.

©JLW Illustration  2013


These were for the 'sock-it-to-me' competition. I realise I shared the sock versions with you, but they look so much prettier in pattern, don't you agree? 
©JLW Illustration  2013

©JLW Illustration  2013

Next up, we have Spoonflower's 'Geek-Chic' competition. this is a snippet from my entry, not currently available for voting, but will keep you posted as and when!

©JLW Illustration 2013 


Currently an entry in this weeks (April 2013) 'sailing' competition. The colours were restricted but I think they work well for a children's print


©JLW Illustration  2013


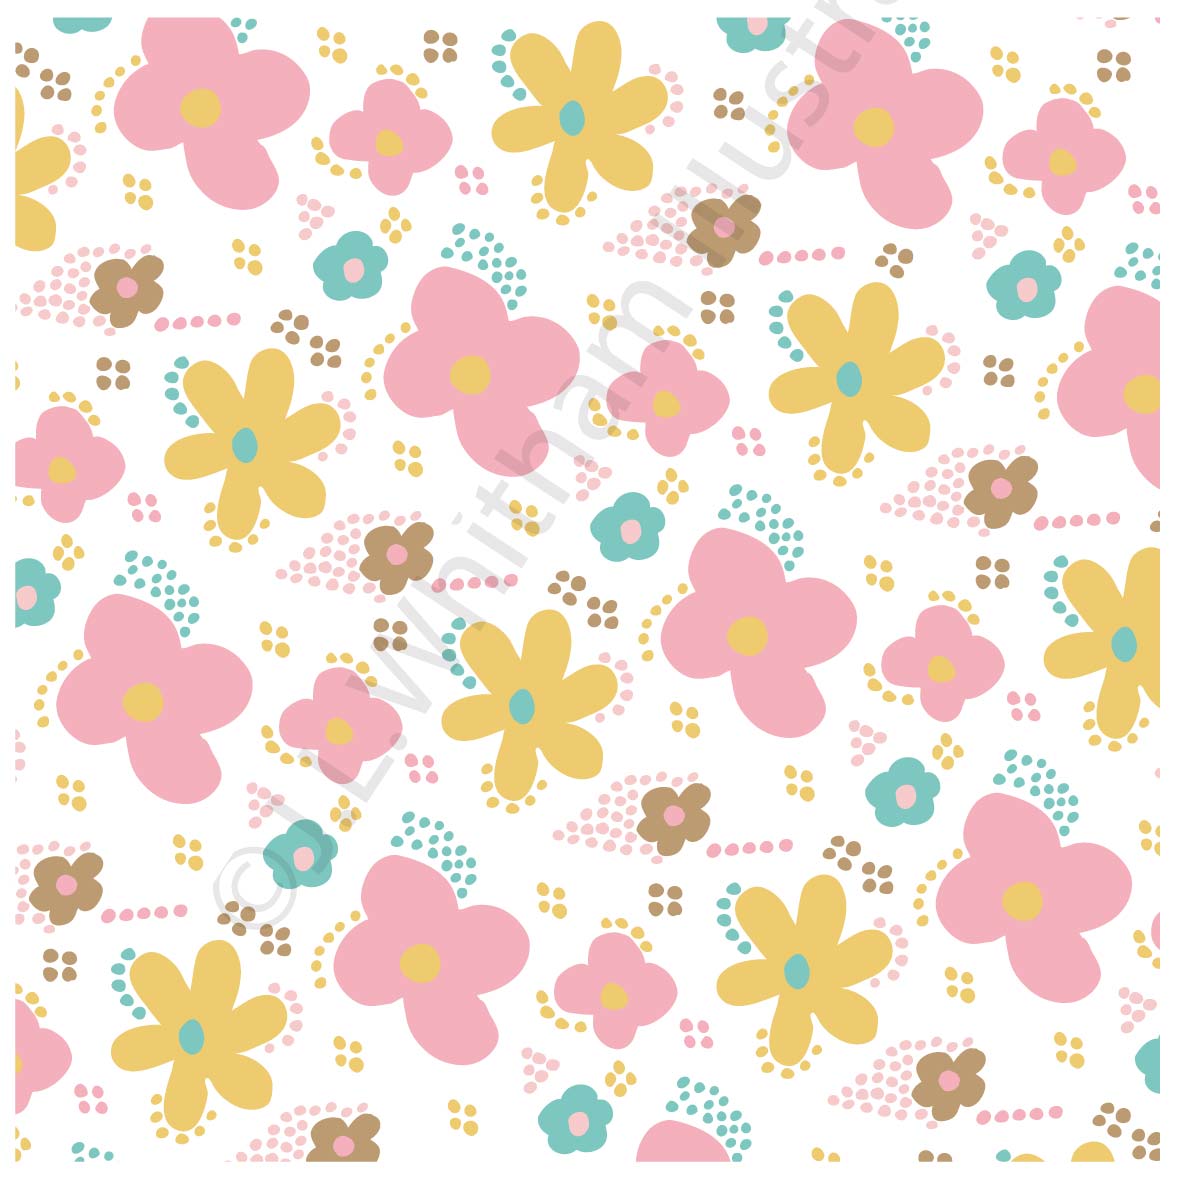
 And Finally, these were created for a Tigerprint Competition. I love the colour palette for this collection.


Hope you have enjoyed the eye candy for today. 

Thanks for visiting. 


Friday, 28 December 2012

Seasons Greetings - a Post Christmas blog

Did we all have a Merry Christmas? 

I'm glad to hear it. 

So did I....... 


And so did the Children......


We left Santa a mug of warm milk and a chocolate cake, because the kids reckoned he would have had enough mince pies by the time he reached our house.....


My LOVE of all things Tea related is well documented amongst my family and friends, so naturally I received Hot Beverage related items from Santa.

My Bestie in the whole wide world, re-upholstered a Chair in my 'Hand drawn Flowers' fabric. it now sits pride of place beside my desk. Too lovely to actually use.....


I just wish the Kitten would leave it alone.....


And my amazing Husband has this waiting for me under the Tree. My very own Rachael Taylor iPad2 case. 

Just Yummy isn't it?


I had a little bit of spare time to create myself a 2013 Diary amongst all the chaos of Christmas. I used the 'hand drawn flowers' swatch I had ordered from Spoonflower a while back. I used a basic £1 diary and gave it a nice new coat.............

 PERFECT!


And finally, Christmas is all about the family. And I got to spend some time with my Husband, Sister and Brother-in-law at a chinese buffet a couple of towns over. Me and Wayne rarely get the opportunity to have our photo's taken together, so I am happy to have forced my sister into taking one. 


Me and my eldest daughter Carla, and with her cousin Harvey 

After all that celebrating and enjoying time with Family and Special Friends. Im quite glad that I can now spend time concentrating on making my 2013 a memorable one. 


Thursday, 8 November 2012

Spoonflower - Holiday Napkins entry

This weeks theme is Holiday Napkin.....


Heres my Entry....

Dont forget to VOTE!!!


Also......


Spoonflower are trailing GIFTWRAP!!!!

Can anyone say Awesome? 

At $15 a roll, its quite pricey, but I'm sure going to buy some just to see the quality and realise a dream of having my designs on GiftWrap.


Until Next time.


Friday, 26 October 2012

Good News All Around - Spoonflower

Hello again....

Rolling on from my last blog post about Tigerprint top 25, MORE AMAZING NEWS:

I found out yesterday I made 13th place in Spoonflowers Tea Towel 2013 Competition....

Remember this design? 


321 votes...

186 entries...

Thanks guys. 

I'd also like to congratulate fellow ABSPD students Emily Truong and Dawn Clarkson for doing amazingly well also.

(apologies if I missed others who entered, I don't recognise some of the Spoonflower names). 


9th Place....


11th Place....

Next time we will make top 10 won't we Dawn?

Moving on...


Next....

The theme is Arrows....

did i nail it?


I think so... 

Please vote...


Until next time. 


Monday, 22 October 2012

Tigerprint, Christmas Papers and ABSPD

Hi All,

its another one of them posts, where I share everything in one go, when really I should be sharing it bit by bit and making you all come back time after time.

Except.....

 I just don't have the time to blog constantly....

I have a house to run...

 3 children under my wings...

and I'm attempting (Slowly) to get my brand name off the ground.

So you'll just have to deal with one big blog post every other day.....

hope thats okay?


Heres what I've been up to:


This was an awesome achievement, I worked hard on this competition, and I cannot wait to get started on editing this design into a new collection. There were lots of amazing entries and the winner and runners up were very deserving of their titles. 

Free Scrapbook Papers:

My Mother-in-law shared some cards and gift boxes that she made using my latest collection of scrapbooking papers...

they are FREE...

Get them HERE


aren't they FAB? 

What else have i forgotten??? 

Oh I entered this weeks Spoonflower Competition...

The annual Tea Towel Calendar competition for 2013...

Don't forget to vote...

Here is my entry:


I Also have some other bits to share...

but I can't share them yet...

But I will...

Until next time. 


Monday, 17 September 2012

WATCH OUT: I've Been Crafting

.......... Okay so it's not as bad as it sounds, I made one cushion using a Spoonflower Fabric that I bought way back in 2011, after entering (and losing) a 2012 Calendar competition. I had no intentions for the 18x21 inch piece of fabric, but I wanted it. 

So its been here since NOVEMBER just sitting nice and folded on my desk waiting to be used.  I had a spare rare afternoon free with my eldest daughter and decided to make a cushion. So off we went to YouTube and sourced a simple video for an envelope cushion, you can find the tutorial it HERE

Heres a visual step-by-step of how me and my not so  little lady made a cushion:

Items Needed:

1 Pillow/Cushion ( mine was 16 x 16 inches)
1 Piece of fabric 2 inch larger than Cushion (18x18 inches)
1 piece of fabric 4 inches longer and 1 inch wider (17x22 inches)
Scissors Tape Measure, Pins, Sewing Machine, Thread


Step one: Measure fabric and Cut to size


Step Two - Iron Fabric Smooth 


Step 3 - Cut larger piece of fabric in half (to make two 17x11 inch pieces).
Step 4 - Fold one length edge over 1/2 inch and iron flat, repeat to create seamless line
Step 5 -Repeat on second piece of fabric


Step 6 - Sew both Creases straight down to fix them in place.


Step 7 - Lay front of cushion fabric (18x18 inch) face up on hard surface
Step 8 - Lay one piece of back on top, rough edges on outside.
Step 9- Repeat step 8 ensuring back layers overlap.
Step 10 - Tack in place
Step 11 - SEW!! 


Step 12: Turn fabric out and ensure corners are firmly pressed out
 (possibly cut edges on inside).
Step 13: Insert cushion


Step 14- Admire your Botch job handy work.


Simples. 


Until Next Time.